Disclaimer
We may earn a commission when you use one of our coupons/links to make a purchase at no extra cost to you. Please support the site by using the links.
Now that I had the gearbox sorted out I was ready to start this build and see how this engine fit. I stripped off the complete nose of the car. The Polo has a subframe or stiffener that bolts to the chassis. This subframe houses the radiator and lights. By taking this section off it just makes it very easy to get to everything. It especially helps if you want to take the engine out and you are man alone. I wasn’t into much of a rush as I wanted to do a proper job of this setup. I had a blank canvas and wanted to paint a masterpiece. The aim was also to do as much as possible myself.
Does the engine fit?
As I had a 2-liter engine in the car I knew the block and the gearbox won’t give me any issues. That 2 units went in easily. I turn the engine to top dead center on cylinder one and confirmed on the gearbox side that the engine was on its timing mark.

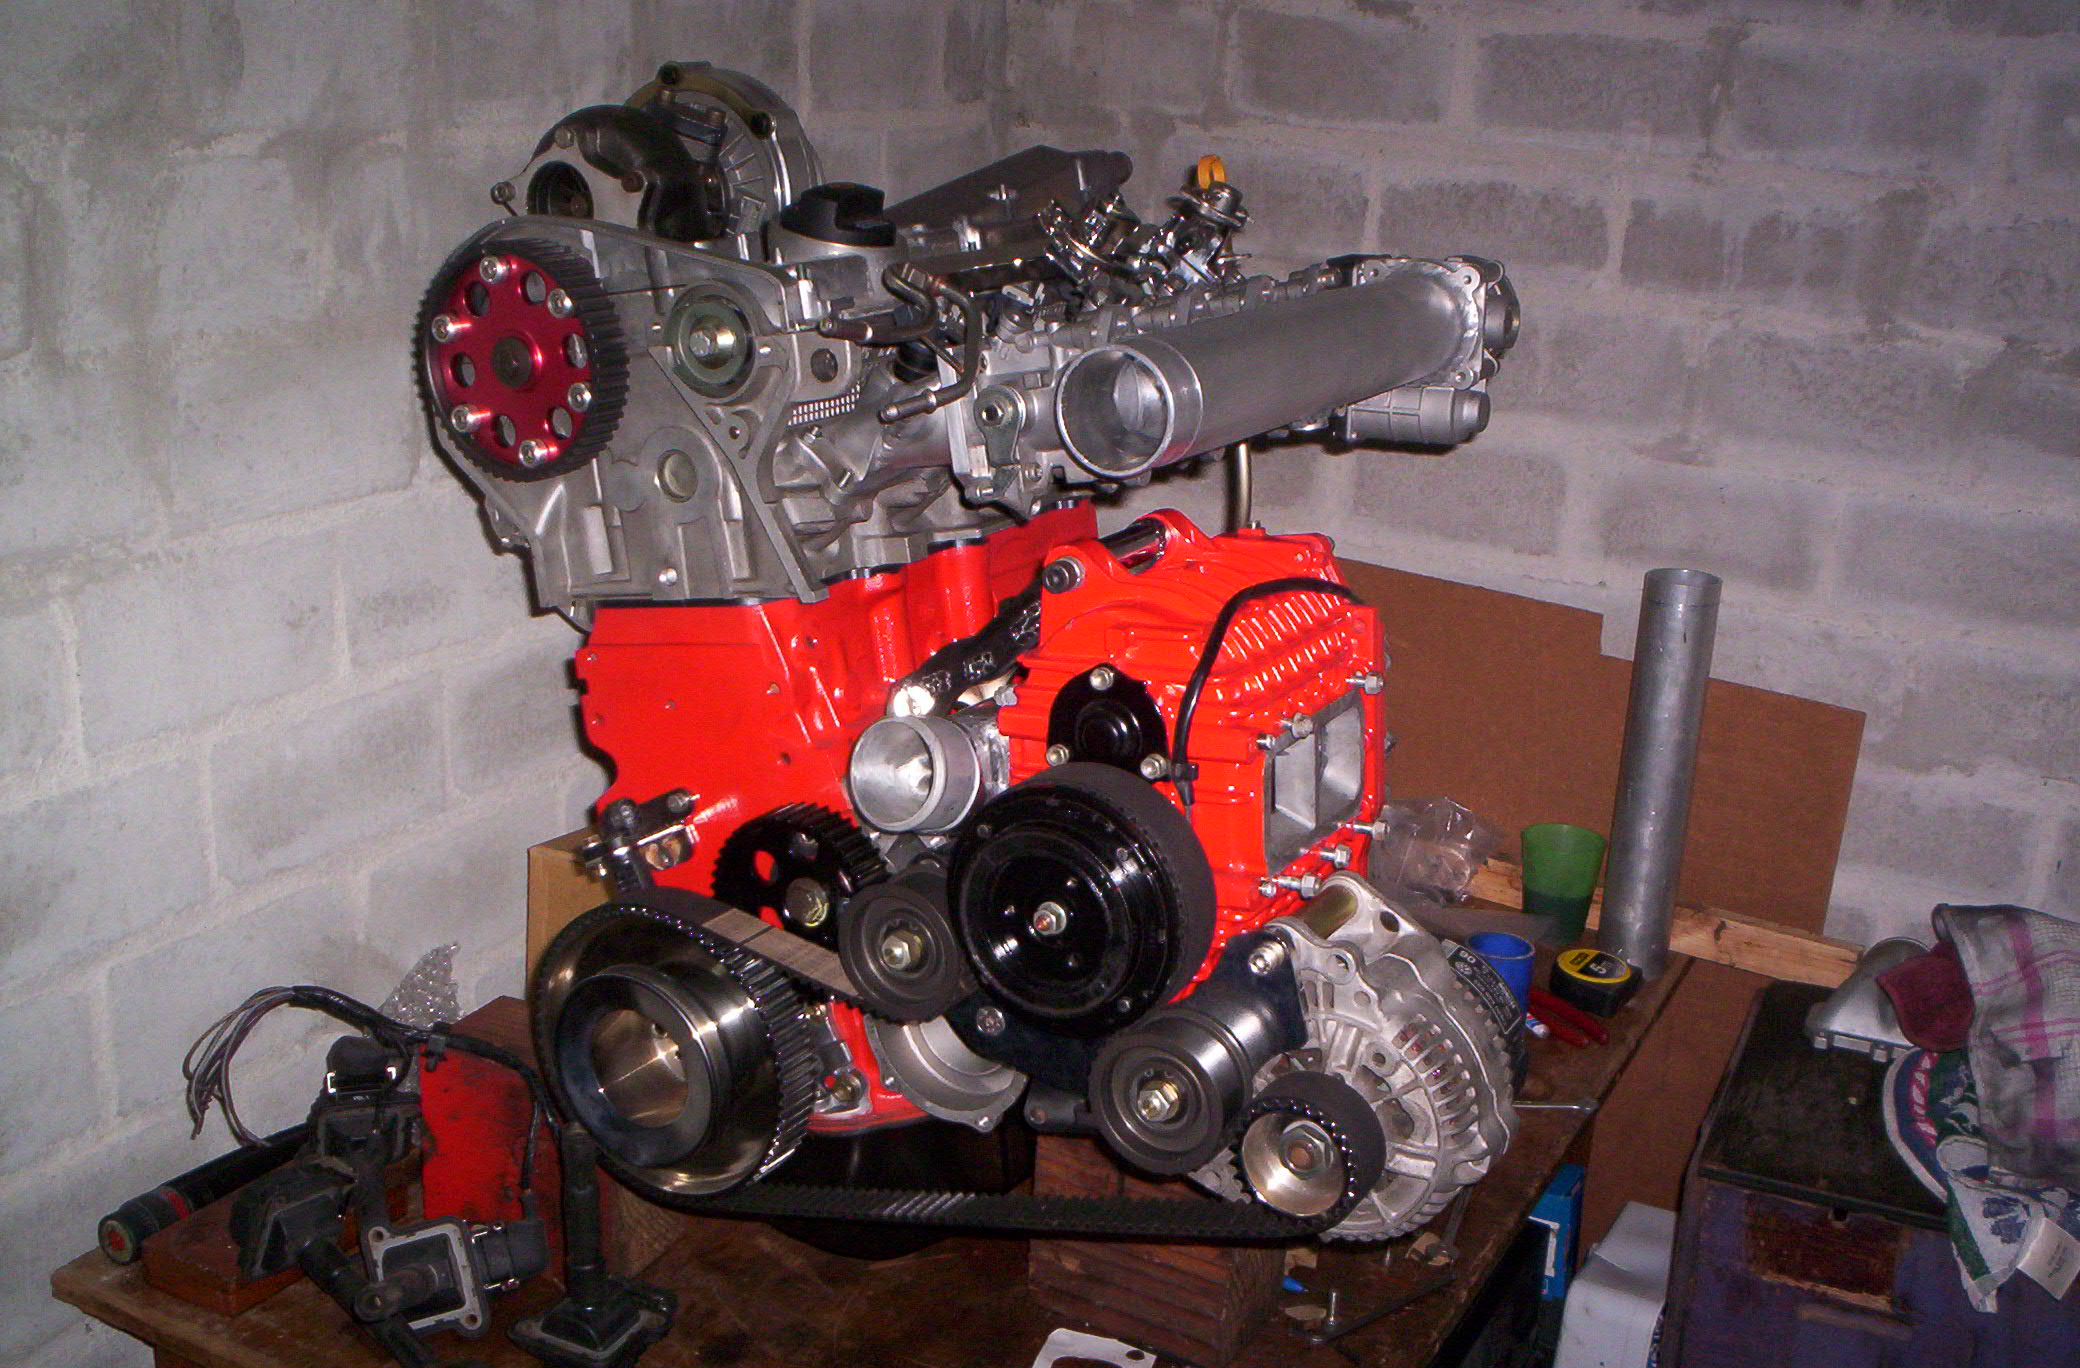
The next thing I did was to drill out the rivets on the standard steel head gasket. I took the 1-millimeter shim out and replaced it with my new laser cut and surface ground 5-millimeter shim. Instead of using rivets again, I used a small bolt and nuts to assemble the gasket. Before assembling the gasket I spayed all the layers with Spanjaard copper gasket sealant. This would give me comfort that I would not blow a head gasket under higher boost. I torqued the head bolts and installed all the cam gear. Last thing was to fit the cam belt.

After I had installed the head on the engine I stood back and assessed if there were any issues. The cambelt pulley on the head was 5 millimeters away from the brake master cylinder. This was a big issue, as the engine will tilt back under acceleration. The belt will touch the master cylinder and it will cause the belt to break. This engine does not clear valves if the belt goes and will bend valves.
I got a set of replacement polyurethane engine mount rubbers from a friend of mine. I installed them on the polo and that made the engine really solid on the subframe. This would help with the issue but I was still scared this would not be enough.
The next issue with this engine fit…
I looked at the space behind the engine and then looked at the size of the turbo. It looked to me that this turbo wasn’t going to fit, and it fits it would also be a tight fit. The best would be to do a dummy assembly. I fitted the turbo manifold to the head and then tried to get the turbo on there. Guess what it doesn’t fit. The compressor housing pushes against the firewall if the engine bay. This was a big issue. Everything was just to tights.
I looked at the turbo manifold and saw that the mounting flange that goes against the head was like 20 millimeters thick. I took the manifold to work and skimmed a healthy 8 millimeter of the flange. The flange was still nice and thick and as it was a cast-iron manifold I wasn’t worried about reducing the flange thickness.
I got home and rebolted the turbo manifold to the head. Now I could fit the turbo onto the manifold. There was about 4-millimeter clearance between the turbo and the firewall. It was still too tight but at least the turbo could fit.
How to fix this engine fit issue?
I stared at the engine for a few minutes and I had a brilliant idea. What if I tilted the engine forward. There is enough space above the turbo so I could do that. I turned to spacer bushes of 20 millimeters thick at work and bought 2 new 20-millimeter longer bolts for the engine mounts. I fitted the spacers when I got home and the gap between the Cam pulley and the master cylinder improved as well as the gap between the turbo and the firewall.
It started looking better now but I wanted to get as much as possible gaps. I took the front engine mount apart. I cut 20 millimeters off the polyurethane bush. This caused the front of the engine to drop with 20 millimeters. I had to do a small mod to the steel part of the mount. The spacer bush that goes inside the polyurethane I also had to cut 20 millimeters shorter and tap the thread deeper.
Now the front of the engine was dropped by 20 millimeters and the back lifted by 20 millimeters. The clearances looked all good. Nothing would touch if the engine tilted. That is now if the engine could tilt with these poly mounts.
Now that this engine fits, what is next on the list to do?


